
Sweet Day
Next up was getting my raffle blanket machine quilted. The due date is October 17th and since I want all my fellow employees to sign it, I need to have it done early. I always dread the finishing process. I hate layering the batting between the layers. I can't stand that you can't see the bottom layer once you put the pieces together. I certainly don't want wrinkles in the back. Yesterday that process went very smoothly. No pun intended. Maybe part of it was a new choice in batting. I'm not sure. I used this new product and hope it continues to amaze me as it has so far. It is the first time I have pre-washed a batting. The bag says it could be quilted up to 8 inches apart which is a feature I like. While many people quilt all over with inch by inch coverage, I think the quilt is so much softer and friendlier to use when quilting is farther apart. I also am not the biggest fan of the wrinkles that happen when you wash the quilt so although this product reported a mere 2 to 3 percent shrinkage it also said it could be preshrunk. I just had to soak the batting for 20 minutes in hot water and then wring dry and tumble dry in the dryer. This is the part I find scary and have never attempted but it worked very well. It came out of the dryer in one piece ( which was a huge bonus!!!) I had no problem 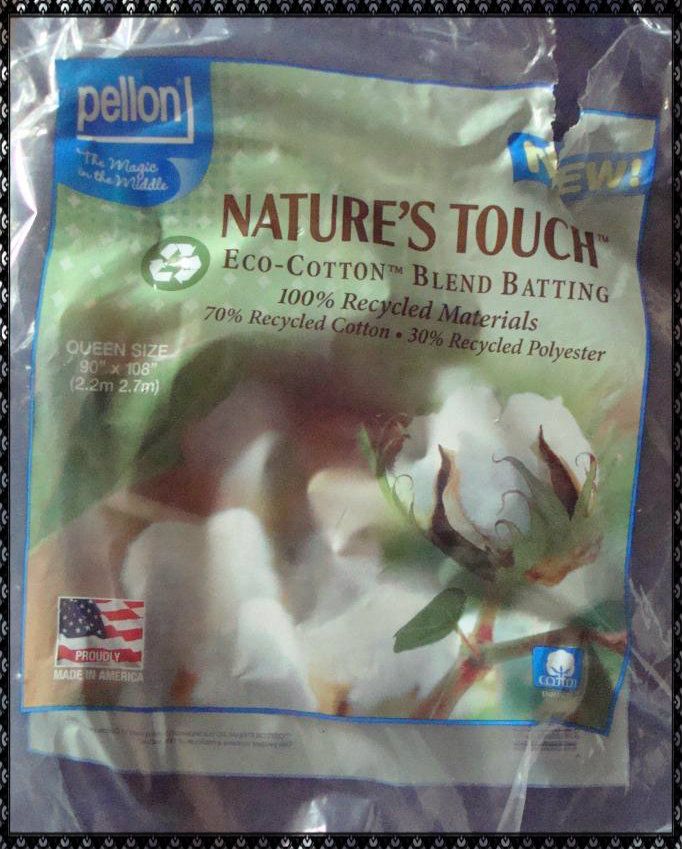 with the layering of the project and it quilted very nicely with no bearding at all. I did have a bobbin tension problem that took me a good hour to take care of. Arrrrgh....I had to clean the dust bunnies out of there three times to get them all and after many attempts to change the bobbin tension with no luck finally just gave up and switched bobbins. Should have started there because I think that was the winner, winner, chicken dinner. I got the project about 80 percent quilted not bad for the first day and will finish it today. Speaking of winner, winner look what I won recently. My grand daughter who is four was here this weekend when it arrived and she immediately thought the pincushion would make a great pillow for her bear who was also spending the night with us. I will have to make her one as this is definitely for my collection. I love it. The charm pack is my first EVER. It has a wonderful collection of fabrics in it and look forward to putting it to good use.
with the layering of the project and it quilted very nicely with no bearding at all. I did have a bobbin tension problem that took me a good hour to take care of. Arrrrgh....I had to clean the dust bunnies out of there three times to get them all and after many attempts to change the bobbin tension with no luck finally just gave up and switched bobbins. Should have started there because I think that was the winner, winner, chicken dinner. I got the project about 80 percent quilted not bad for the first day and will finish it today. Speaking of winner, winner look what I won recently. My grand daughter who is four was here this weekend when it arrived and she immediately thought the pincushion would make a great pillow for her bear who was also spending the night with us. I will have to make her one as this is definitely for my collection. I love it. The charm pack is my first EVER. It has a wonderful collection of fabrics in it and look forward to putting it to good use.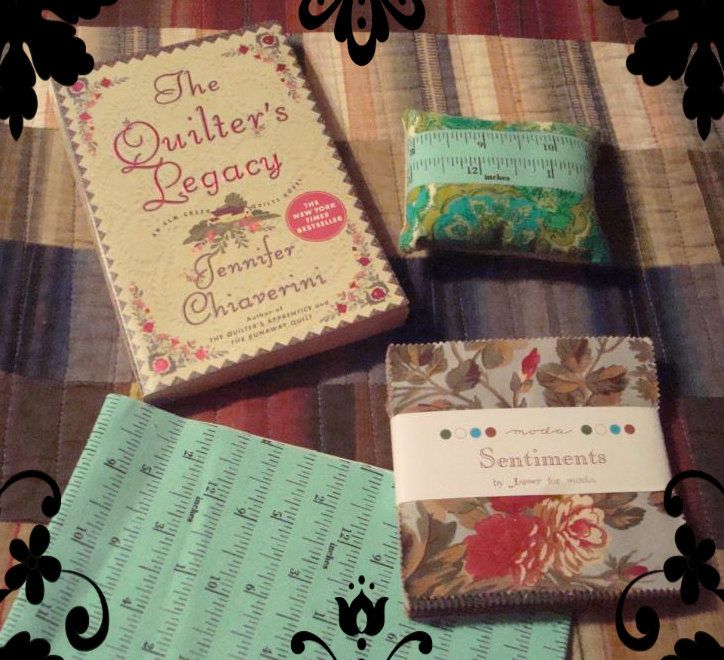 Don't you just love the fabrics that were in this charm pack??? I want to thank Elizabeth of pieceful life for the wonderful things she offered in her giveaway. The book was also a first for me and I have been wanting to read one of these quilting novels for a long time. I started it last night with a glass of wine and a hot bath and it was the perfect way to end my sweet day.
 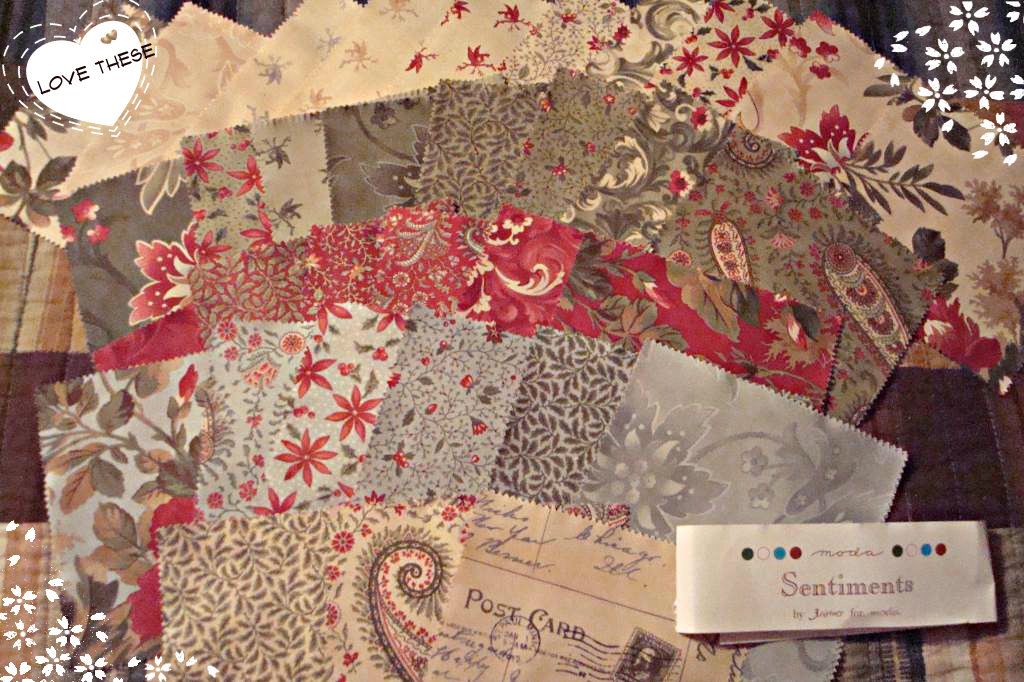 I can only hope day two of my my mini vacation 'ME' time goes as well. Hope you are having a great day, too. Hugs,


